


Quick answer
What this guide helps you do
Set up Jellyfin hardware transcoding on Ubuntu with Intel Quick Sync, VAAPI, render permissions, and simple checks for low-power mini PCs.
Jellyfin beginner path
New to Jellyfin? Follow this order.
These guides form the SmallGrid Jellyfin path: install it, fix folder access, solve empty libraries, reduce unnecessary transcoding, then choose the right mini PC.
Jellyfin 12 baseline: Jellyfin 12 ships with Jellyfin FFmpeg 8.1. Jellyfin 12.1 and 12.2 (released 5 October 2026) are stable point releases of the 12.x line.
If hardware acceleration stopped working after a Jellyfin 12 upgrade, do not assume the GPU path itself failed. First confirm the acceleration setting is still enabled and use Jellyfin 12 High CPU, Memory and Scan Problems if CPU usage jumped immediately after the upgrade.
Goal
Set up Jellyfin hardware transcoding on Ubuntu without guessing.
This guide is aimed at small, low-power home servers and mini PCs, especially Intel-based machines with Quick Sync.
The aim is not to force transcoding all the time. The aim is to make transcoding available when Jellyfin genuinely needs it.
The default recommendation
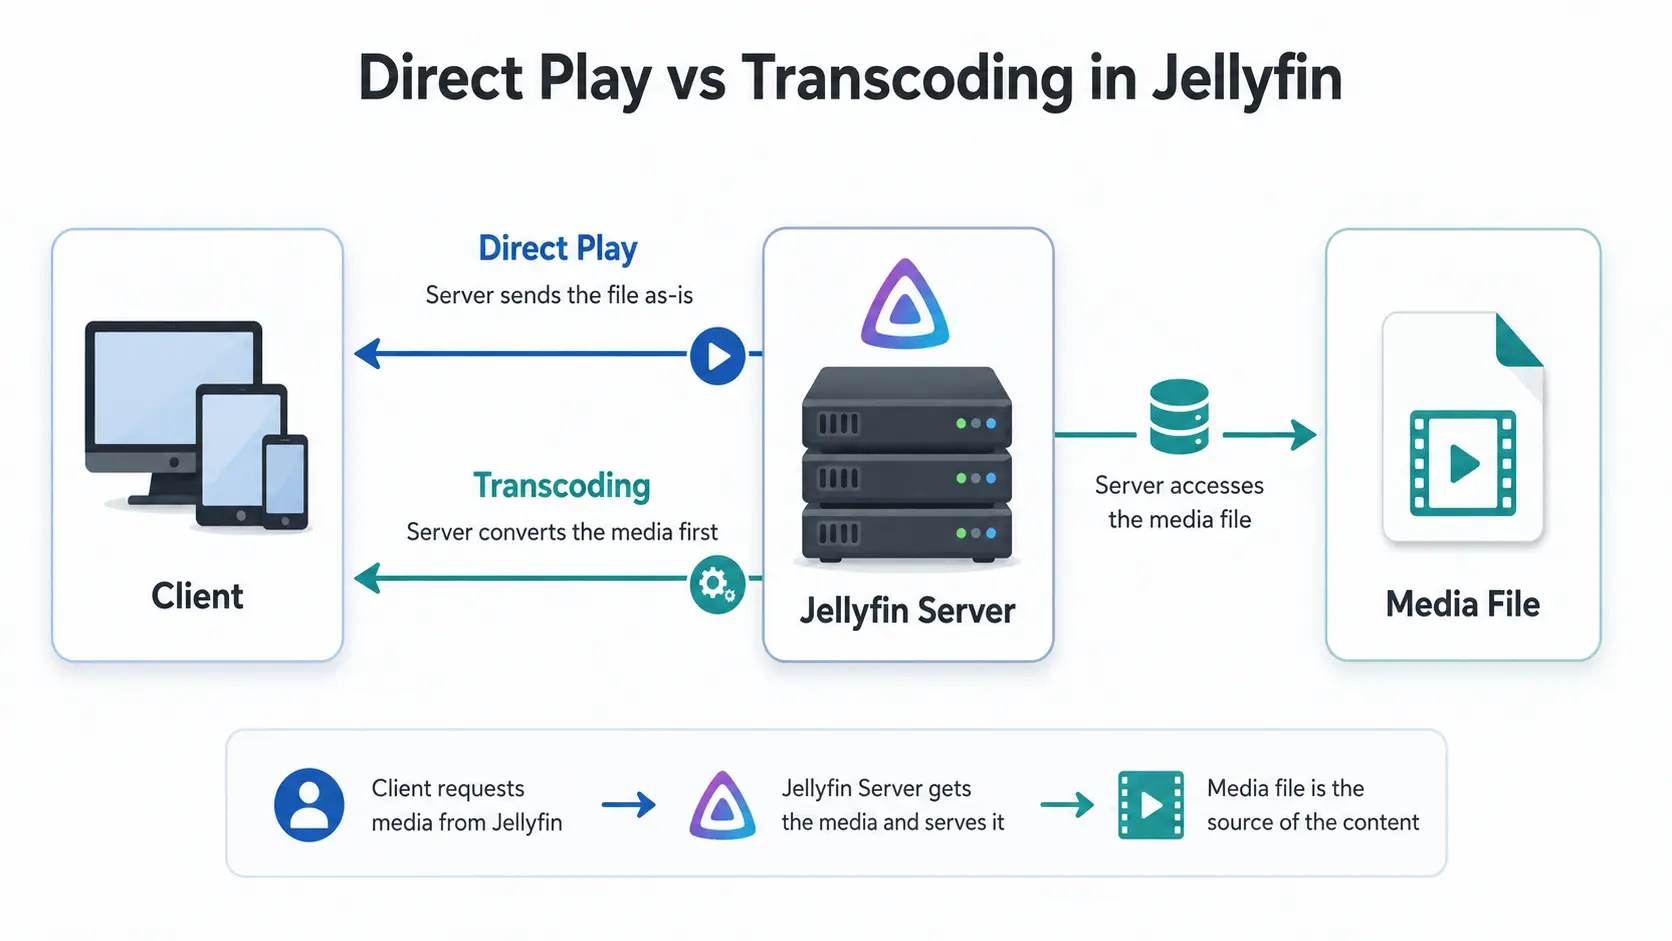
Start with direct play first.
Only configure hardware transcoding when you have a real reason:
- a client cannot play the file directly
- remote bandwidth is limited
- subtitles force conversion
- some files buffer because the server is trying to transcode in software
- your CPU usage jumps very high during playback
If most of your library direct plays, you may not need this yet.
For the basics, read Jellyfin Direct Play vs Transcoding: What Actually Matters.
What Intel Quick Sync does
Intel Quick Sync is the media engine built into many Intel CPUs.
For Jellyfin, it can help with:
- video decoding
- video encoding
- reducing CPU load during transcoding
- keeping a small server cooler and quieter
Many used business mini PCs are popular for Jellyfin because they include Intel integrated graphics and can handle occasional transcoding efficiently.
Step 1: Check your hardware
First, confirm the server has Intel graphics available.
Run:
lspci | grep -Ei "vga|display|3d"You are looking for an Intel graphics device.
Then check for the render device:
ls -la /dev/driA typical system shows something like:
card0
renderD128
The important device for Jellyfin hardware acceleration is usually:
/dev/dri/renderD128If /dev/dri does not exist, hardware acceleration is not currently exposed to Ubuntu.
Step 2: Install useful tools
Install tools that help verify VAAPI support:
sudo apt update
sudo apt install -y vainfo intel-gpu-tools
Then run:
vainfoIf VAAPI is working, you should see supported decode and encode profiles.
If vainfo fails, fix that before changing Jellyfin settings.
Step 3: Check the Jellyfin user can access the render device
Jellyfin needs permission to use /dev/dri/renderD128.
Check the device permissions:
ls -la /dev/driYou may see the render device owned by the render group.
Add Jellyfin to the required groups:
sudo usermod -aG render jellyfin
sudo usermod -aG video jellyfin
Restart Jellyfin:
sudo systemctl restart jellyfinThen check the user groups:
id jellyfinYou should see render and/or video listed.
Step 4: Enable hardware acceleration in Jellyfin
In the Jellyfin web interface:
Dashboard → Playback → TranscodingFor an Intel iGPU setup, the usual starting point is:
Hardware acceleration: VAAPI
VAAPI device: /dev/dri/renderD128
Save the settings.
After a Jellyfin 12 migration, check this setting even if hardware transcoding worked before the upgrade. If it is disabled or has returned to an unexpected value, restore the intended supported setting through the UI and test one known file before changing anything else.
Do not enable every option at once. Start simple, test playback, then adjust.
Step 5: Test with one known file
Pick a file that previously caused software transcoding or high CPU use.
Start playback, then check the Jellyfin dashboard:
Dashboard → Active DevicesOpen the active stream and check whether it says transcoding and why.
On the server, you can also watch GPU activity:
sudo intel_gpu_topIf hardware transcoding is being used, you should see activity while the file plays.
Step 6: Check the logs if it fails
Jellyfin logs are usually under:
/var/log/jellyfin/Check recent logs:
sudo journalctl -u jellyfin --no-pager -n 100Common problems include:
- Jellyfin cannot access
/dev/dri/renderD128 - the
jellyfinuser is not in the right group - VAAPI is selected but not working on the host
- the client is forcing a different type of conversion
- subtitles are causing burn-in
- hardware acceleration is no longer enabled after a major upgrade
There is also an open Jellyfin 12.1 report, issue #18191, describing QSV/FFmpeg transcoding failures on a particular Docker/Ubuntu/Intel setup. Treat that as evidence to compare against your logs, not as a universal 12.1 Quick Sync failure. If Direct Play and remux work but every true transcode fails, preserve the FFmpeg command/error before changing drivers or acceleration settings.
Common mistake: solving the wrong problem
Hardware transcoding does not fix everything.
If playback buffers remotely, check:
- home upload speed
- media bitrate
- client quality setting
- whether the stream is direct playing or transcoding
- whether subtitles are forcing conversion
If playback only fails with one file, the file format may be the real issue.
See Best File Formats for Jellyfin Direct Play.
Docker note
If Jellyfin runs in Docker, the container needs access to the render device.
That usually means passing through /dev/dri to the container and making sure the container user can read it.
See Jellyfin Docker Permissions: Fix Media Folder Access Properly.
Quick verification checklist
Run these checks:
ls -la /dev/dri
id jellyfin
vainfo
sudo systemctl status jellyfin --no-pager
Then confirm in Jellyfin:
- VAAPI is selected.
- Device path is
/dev/dri/renderD128. - Playback works.
- CPU usage is lower during transcoding.
intel_gpu_topshows activity during playback.
Next steps
Useful related guides:
- Jellyfin 12.2 Update Guide: Fix Scanning, Crashes and Docker Problems
- Jellyfin 12 High CPU, Memory and Scan Problems: What to Check
- How to Check Why Jellyfin Is Transcoding
- Jellyfin Direct Play vs Transcoding: What Actually Matters
- Best File Formats for Jellyfin Direct Play
- Jellyfin on a Mini PC: Build a Quiet Low-Power Media Server
- How to Measure Homelab Power Usage Properly
Recap
For a low-power Jellyfin server, direct play should still be the target.
Hardware transcoding is useful when Jellyfin genuinely needs to convert a file. On many Intel mini PCs, Quick Sync via VAAPI is the practical starting point.
Check /dev/dri, add Jellyfin to the right groups, enable VAAPI, and test with one known file before changing lots of settings. If CPU usage jumped immediately after a Jellyfin 12 upgrade, verify the acceleration setting before assuming the hardware or driver stack has failed.
Next guide
What to read next
Continue the setup path with these closely related guides.
Jellyfin Direct Play vs Transcoding: What Is the Difference?
Why is Jellyfin transcoding instead of Direct Playing? Compare Direct Play, Direct Stream and transcoding, CPU usage, quality and common triggers.
Jellyfin Supported Formats: Can It Play MKV, MP4 and HEVC?
Can Jellyfin play MKV, MP4 and HEVC? See supported containers, codecs and subtitles, plus why files Direct Play, Direct Stream or transcode.
Best Mini PC for Jellyfin: CPU, RAM and Quick Sync Specs
Looking for the best mini PC for a Jellyfin server? Compare Intel N100 and used Core i5 options, Quick Sync, RAM, SSD and low-power requirements.
Jellyfin guide cluster
More Jellyfin fixes and setup guides
These guides link the main Jellyfin setup, permissions, remote access, direct play, and hardware topics together.
Jellyfin 12 Upgrade Guide: 10 Things to Check Before You Update
Prepare Jellyfin 10.10 or 10.11 for version 12: verify backups, plugins, Docker or Ubuntu packages, migrations, permissions, playback and rollback.
How to Reduce Jellyfin Server Power Use on Ubuntu
Reduce Jellyfin server electricity use on Ubuntu by measuring idle and playback power, avoiding unnecessary transcoding, checking background load, storage, CPU behaviour and reboot health.
Give Jellyfin Access to Media Folders on Ubuntu
Fix Jellyfin permission denied errors on Ubuntu. Test the service user, find blocked parent folders, apply safe ACLs, verify inheritance, and check mounted-drive options.
Jellyfin Library Not Showing Files? 8 Checks That Fix It
Fix a Jellyfin library that is empty or missing media. Check mounts, Linux permissions, Docker paths, library folders, naming, scans and logs in the correct order.
Jellyfin Docker Permissions: Fix Media Folder Access and UID/GID Errors
Fix Jellyfin Docker permission denied errors. Check bind mounts, container paths, UID and GID values, read-only media access, active mounts, and file visibility step by step.
Jellyfin Direct Play vs Transcoding: What Is the Difference?
Why is Jellyfin transcoding instead of Direct Playing? Compare Direct Play, Direct Stream and transcoding, CPU usage, quality and common triggers.