


Quick answer
What this guide helps you do
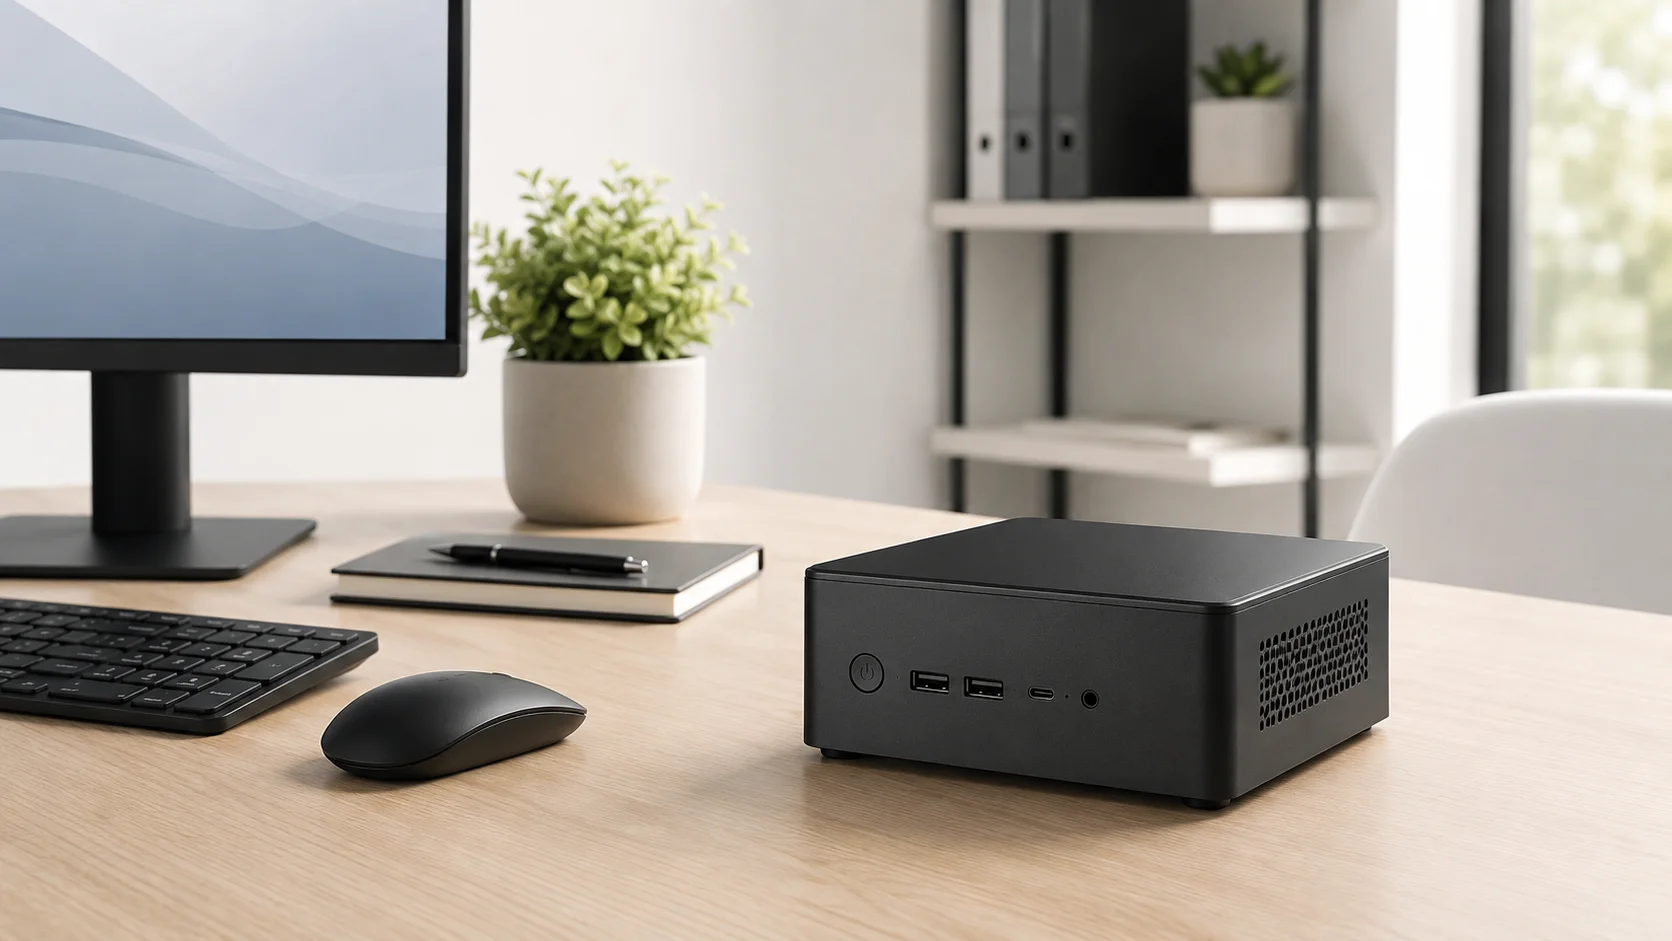
Build a quiet Jellyfin media server on a mini PC with sensible hardware, storage, direct play, backups, and low-power home lab defaults.
Jellyfin beginner path
New to Jellyfin? Follow this order.
These guides form the SmallGrid Jellyfin path: install it, fix folder access, solve empty libraries, reduce unnecessary transcoding, then choose the right mini PC.
Printable helper
Prefer to work through this step by step?
Download the matching checklist and tick off the common causes while you work through the guide.
Hardware for a quiet Jellyfin mini PC setup
These links match the hardware categories used in this build. Compare specifications and prices rather than treating any single listing as a required purchase.
Compare compact systems that fit the low-noise, always-on setup described here.
Useful for media storage or backups, but keep a separate backup copy.
Goal
Build a practical Jellyfin media server on a mini PC.
The target is:
- quiet enough for a normal room
- low-power enough to leave on
- simple enough to maintain
- powerful enough for direct play and occasional transcoding
- easy to back up and rebuild
This is the SmallGrid-style Jellyfin setup: useful, boring, and reliable.
The default recommendation
For most beginners, start with a used business mini PC.
A sensible target is:
CPU:      Intel 8th gen i5 or newer, or similar Ryzen
RAM:      16GB minimum, 32GB if using Proxmox or extra services
Storage:  256GB to 1TB NVMe SSD
Network:  Wired gigabit Ethernet
Media:    External HDD, NAS, DAS, or separate storage disk
This is enough for Jellyfin, Tailscale, a few Docker services, monitoring, and light home lab use.
For buying details, read Budget Mini PC Home Lab: Picking a Tiny Box That Can Actually Homelab.
Why a mini PC works well for Jellyfin
A mini PC is often better than an old tower or rack server for a home media setup.
Benefits:
- low idle power
- low noise
- small size
- cheap used business models
- good integrated graphics on many Intel systems
- easy replacement if it fails
For a home Jellyfin server, idle power matters more than peak performance. The server spends most of its life waiting for someone to watch something.
Direct play first
The best Jellyfin server is not always the most powerful one.
It is the one where most playback direct plays.
Direct play means Jellyfin sends the file to the client without converting it.
That keeps:
- CPU use low
- power use low
- heat low
- fan noise low
Read Jellyfin Direct Play vs Transcoding: What Actually Matters before buying hardware purely for transcoding.
When hardware transcoding matters
Hardware transcoding is useful when Jellyfin has to convert video.
This may happen because:
- the client does not support the file format
- subtitles need to be burned in
- remote bitrate needs lowering
- the media is too large for the connection
Intel Quick Sync is a strong reason many people choose Intel mini PCs for Jellyfin.
See Jellyfin Hardware Transcoding on Ubuntu: Intel Quick Sync Setup.
Storage layout
Keep the system simple:
Mini PC internal SSD:
  Ubuntu, Jellyfin, config, metadata, Docker/Proxmox if used

Separate media storage:
  movies, TV, music, photos

Separate backup:
  config, important files, metadata, scripts
Do not rely on the internal SSD as your only copy of anything important.
Large media libraries usually belong on:
- external USB HDD
- NAS share
- DAS enclosure
- larger internal disk if the machine supports it
For quiet storage advice, read Quiet Storage: Add Disks Without Turning Your Home Into a Datacentre.
Ubuntu or Proxmox?
For the simplest setup:
Ubuntu Server + Jellyfin directly installedFor a more flexible home lab:
Proxmox host + Ubuntu VM/container + JellyfinUse Ubuntu directly if Jellyfin is the main job.
Use Proxmox if you also want test VMs, extra services, snapshots, and a more flexible lab.
See Proxmox for Normal Humans: One-Node Starter Setup.
Networking
Use wired Ethernet for the server.
Avoid Wi-Fi for the always-on box if you can.
A simple network setup is:
Mini PC → Ethernet cable → router or switchGigabit Ethernet is enough for most Jellyfin libraries.
2.5 GbE is useful if you regularly move large files across the network, but it is not required for a basic Jellyfin setup.
Remote access
The safe default is private remote access.
For most people:
Tailscale first
Reverse proxy later only if needed
This avoids exposing Jellyfin directly to the internet.
Start with Remote Jellyfin with Tailscale: Private Access Setup.
For the wider comparison, read Jellyfin Remote Access Safely: Tailscale, Reverse Proxy, or VPN?.
Backups
Back up more than just media.
Important Jellyfin items include:
- Jellyfin config
- metadata if you care about it
- Docker Compose files if using Docker
- scripts
- notes about paths and mounts
- library folder structure
The media itself may be large, so decide what is genuinely important and what can be recreated.
Use Backups That Don’t Lie: 3-2-1 for Home Servers as the baseline.
Power usage
A good mini PC can be very cheap to run, but measure it.
Do not guess.
Use a plug-in power meter or smart plug with energy monitoring.
Measure:
- idle watts
- normal playback watts
- transcoding watts
- storage watts
See How to Measure Homelab Power Usage Properly.
Suggested build path
A sensible order is:
- Buy or reuse a suitable mini PC.
- Install Ubuntu Server.
- Install Jellyfin.
- Add media storage.
- Fix permissions.
- Confirm direct play.
- Add Tailscale.
- Add backups.
- Measure power usage.
- Only then tune transcoding.
This avoids chasing advanced settings before the basics work.
Next steps
Useful related guides:
- Jellyfin on Ubuntu: Low-Power Setup and Folder Permissions
- Fix Jellyfin Folder Permissions on Ubuntu
- Jellyfin Direct Play vs Transcoding: What Actually Matters
- Jellyfin Hardware Transcoding on Ubuntu
- Recommended Home Lab Gear
Recap
A mini PC is one of the best starting points for a quiet Jellyfin home server.
Choose efficient hardware, aim for direct play, keep storage and backups simple, use private remote access, and measure real power use before upgrading.
Downloadable checklist
Save the matching PDF checklist
Use these while working through the guide, or keep a copy for the next time the same problem appears.
Jellyfin Mini PC Buying Checklist
A practical checklist for choosing a quiet low-power Jellyfin mini PC.
Download PDFMore downloads are available in the SmallGrid checklists section.
Next guide
What to read next
Continue the setup path with these closely related guides.
Best Mini PC for Jellyfin: CPU, RAM and Quick Sync Specs
Looking for the best mini PC for a Jellyfin server? Compare Intel N100 and used Core i5 options, Quick Sync, RAM, SSD and low-power requirements.
Budget Mini PC Home Lab: Picking a Tiny Box That Can Actually Homelab
How to choose a used or budget mini PC for a small efficient home lab, Jellyfin, Docker, Proxmox, backups, and low-power home server use.
How to Measure Homelab Power Usage Properly
Measure your home server power usage, compare smart plugs and plug-in meters, and turn watts into realistic monthly and yearly costs.
Jellyfin guide cluster
More Jellyfin fixes and setup guides
These guides link the main Jellyfin setup, permissions, remote access, direct play, and hardware topics together.
Jellyfin 12 Upgrade Guide: 10 Things to Check Before You Update
Prepare Jellyfin 10.10 or 10.11 for version 12: verify backups, plugins, Docker or Ubuntu packages, migrations, permissions, playback and rollback.
How to Reduce Jellyfin Server Power Use on Ubuntu
Reduce Jellyfin server electricity use on Ubuntu by measuring idle and playback power, avoiding unnecessary transcoding, checking background load, storage, CPU behaviour and reboot health.
Give Jellyfin Access to Media Folders on Ubuntu
Fix Jellyfin permission denied errors on Ubuntu. Test the service user, find blocked parent folders, apply safe ACLs, verify inheritance, and check mounted-drive options.
Jellyfin Library Not Showing Files? 8 Checks That Fix It
Fix a Jellyfin library that is empty or missing media. Check mounts, Linux permissions, Docker paths, library folders, naming, scans and logs in the correct order.
Jellyfin Docker Permissions: Fix Media Folder Access and UID/GID Errors
Fix Jellyfin Docker permission denied errors. Check bind mounts, container paths, UID and GID values, read-only media access, active mounts, and file visibility step by step.
Jellyfin Direct Play vs Transcoding: What Is the Difference?
Why is Jellyfin transcoding instead of Direct Playing? Compare Direct Play, Direct Stream and transcoding, CPU usage, quality and common triggers.