

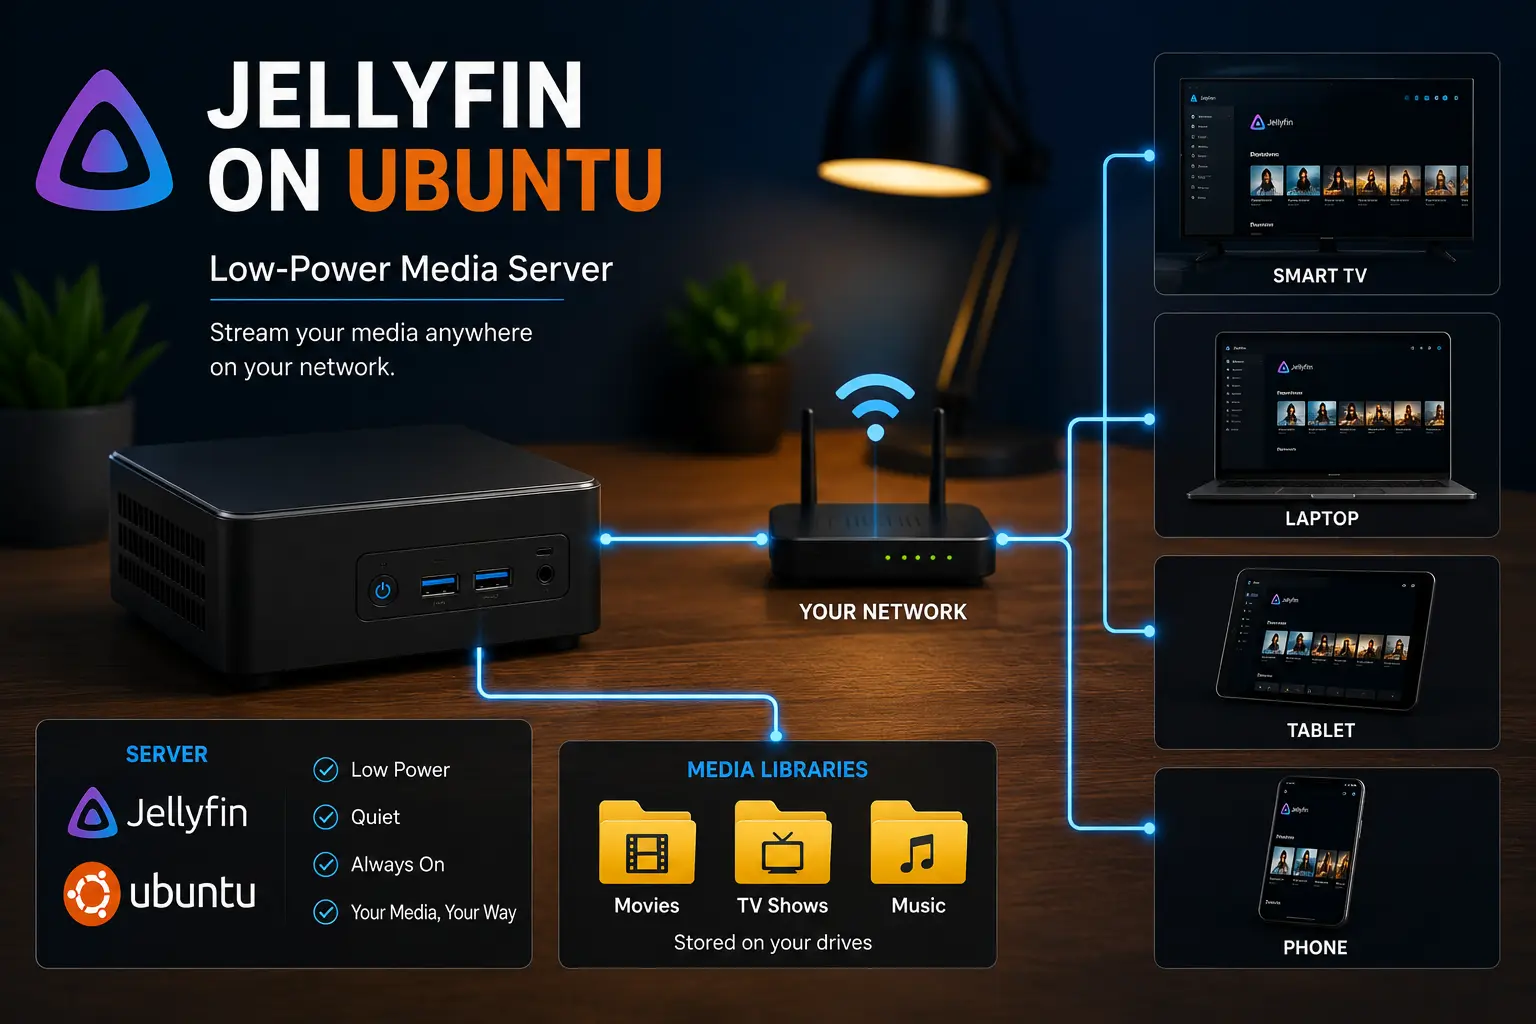

Quick answer
What this guide helps you do
Reduce Jellyfin server electricity use on Ubuntu by measuring idle and playback power, avoiding unnecessary transcoding, checking background load, storage, CPU behaviour and reboot health.
Jellyfin beginner path
New to Jellyfin? Follow this order.
These guides form the SmallGrid Jellyfin path: install it, fix folder access, solve empty libraries, reduce unnecessary transcoding, then choose the right mini PC.
Useful Amazon UK links
These are optional links for hardware or accessories relevant to this guide. Compare prices and specifications before buying.
Measure what the server really draws before and after you change settings.
A useful comparison point for very low-power new systems.
Quick answer
The fastest way to reduce Jellyfin server power use is to measure the whole server first, then remove unnecessary work.
For most home servers, check these in order:
- measure idle power at the wall
- confirm Jellyfin is not scanning or transcoding while supposedly idle
- favour Direct Play on the clients you actually use
- use hardware acceleration when a video transcode is genuinely required
- check persistent background CPU load
- verify storage mounts and failing tasks are not causing repeated rescans
- compare power again after each change
The most useful access test is:
sudo -u jellyfin find /mnt/media -maxdepth 3 -type f | head -20The most useful reboot checks are:
systemctl status jellyfin --no-pager
findmnt /mnt/media
sudo -u jellyfin find /mnt/media -maxdepth 3 -type f | head -20
Do not buy new hardware because a dashboard shows high CPU once. First establish whether the server is idle, Direct Playing, Direct Streaming, software transcoding, hardware transcoding or scanning the library.
Low-power Jellyfin: what usually matters most
A low-power media server is not created by one setting. It is the result of avoiding work the server does not need to perform.
| Check | Why it matters | What to compare |
|---|---|---|
| Idle wall power | Establishes the real always-on cost | Server settled vs unexpected background work |
| Direct Play | Usually requires little server-side processing | Same file/client vs transcoding |
| Software video transcode | Can keep several CPU cores busy | CPU load, wall power and temperature |
| Hardware transcode | Can reduce CPU work for required conversion | Same source file as software test |
| Library scan | Creates temporary CPU and disk activity | Normal idle vs active scan |
| Storage health | Repeated errors or rescans waste work | Logs, SMART data and mount state |
| Background services | Jellyfin may not be the source of idle load | top, ps, Docker or system services |
Measure one change at a time. If wall power does not move meaningfully, keep the simpler configuration.
What this guide covers
This is the complete native-Ubuntu build and optimisation guide for a small, always-on Jellyfin server.
It covers:
- installing Jellyfin as a system service
- choosing a maintainable storage layout
- mounting media reliably
- granting the
jellyfinaccount read access - adding and validating libraries
- reducing avoidable transcoding
- measuring idle and playback power
- checking CPU behaviour, temperatures, storage and service health
- proving the build survives restart and reboot
It does not duplicate the full repair workflow for every failure type.
Use:
- Give Jellyfin Access to Media Folders on Ubuntu for detailed ACL and parent-directory diagnosis
- Jellyfin Library Not Showing Files for the broad empty-library decision tree
- How to Check Why Jellyfin Is Transcoding for playback diagnosis
- Jellyfin Hardware Transcoding on Ubuntu when a required transcode needs acceleration
- How to Measure Homelab Power Usage Properly for repeatable whole-system measurements
For Docker installations, use the Docker-specific guides because container paths and user IDs change the permission model.
SmallGrid verification environment
SmallGrid’s current media-server environment uses:
Operating system: Ubuntu Server
Jellyfin runtime: Docker in production
Storage pool:     MergerFS
TV host path:     /srv/media_pool/TV
Container path:   /tv
Media services:   Jellyfin, Sonarr, Radarr and qBittorrent
Network:          Local Ethernet
Timezone:         Europe/London
The production system is containerised, but the reliability checks in this guide also apply to a native package installation:
- the service is active
- the storage is mounted
- the Jellyfin process can read real files
- the library path is correct
- playback mode is known
- the same state returns after reboot
At the last verified storage check, the active media branches contained 1,539 files, and the host and Jellyfin-visible counts matched.
No wattage figure is claimed in this guide without a wall-meter measurement. “Low power” means avoiding unnecessary work and measuring the whole machine rather than guessing from CPU utilisation.
Recommended starting design
| Decision | Recommended starting point | Reason |
|---|---|---|
| Operating system | Current supported Ubuntu Server LTS | Stable package and service management |
| System disk | SSD | Fast metadata access, quiet operation and responsive updates |
| Media path | /mnt/media or /srv/media | Clear location for shared service data |
| Network | Wired Ethernet | Predictable high-bitrate playback |
| Playback target | Direct Play | Lowest server processing requirement |
| 1080p target | H.264 with AAC or AC3 | Broad client compatibility |
| 4K target | HEVC only where clients support it | Saves storage without forcing conversion |
| Permissions | Read and execute ACL for jellyfin | Preserves the main owner while granting access |
| Permanent disks | UUID-based /etc/fstab mount | Stable after reboots and device-name changes |
| Transcoding | Hardware acceleration only when required | Reduces CPU load but adds configuration complexity |
A low-power design is mostly about removing unnecessary activity:
Direct Play instead of video conversion
Stable mounts instead of failed rescans
SSD metadata instead of slow random access
Suitable clients instead of server upgrades
Measured changes instead of assumptions
Step 1: Record the starting environment
Before changing the server, record its current state:
cat /etc/os-release
uname -r
lscpu | sed -n '1,25p'
free -h
lsblk -o NAME,SIZE,FSTYPE,MODEL,MOUNTPOINTS
ip -brief address
timedatectl
Check the graphics devices if hardware transcoding may be used later:
lspci | grep -Ei 'vga|display|3d'
ls -la /dev/dri 2>/dev/null
Keep this output with the date. It makes later troubleshooting, upgrades and power comparisons meaningful.
Step 2: Install Jellyfin
Update Ubuntu and install the repository tools:
sudo apt update
sudo apt install -y apt-transport-https ca-certificates curl gnupg lsb-release
Add the Jellyfin signing key:
curl -fsSL https://repo.jellyfin.org/jellyfin_team.gpg.key \
  | sudo gpg --dearmor -o /usr/share/keyrings/jellyfin.gpg
Add the repository:
echo "deb [signed-by=/usr/share/keyrings/jellyfin.gpg] https://repo.jellyfin.org/ubuntu $(lsb_release -cs) main" \
  | sudo tee /etc/apt/sources.list.d/jellyfin.list
Install and start Jellyfin:
sudo apt update
sudo apt install -y jellyfin
sudo systemctl enable --now jellyfin
Verify the service:
systemctl status jellyfin --no-pager
systemctl is-enabled jellyfin
systemctl show jellyfin -p User -p Group
jellyfin --version
Expected state:
Service active:  yes
Starts at boot:  yes
Service user:    jellyfin
Version recorded: yes
Step 3: Create a stable media layout
Use a shared-service path rather than a personal home directory:
/mnt/media/
├── movies/
├── tv/
└── music/
Create the directories:
sudo mkdir -p /mnt/media/movies
sudo mkdir -p /mnt/media/tv
sudo mkdir -p /mnt/media/music
Recommended naming examples:
/mnt/media/movies/Blade Runner (1982)/Blade Runner (1982).mkv
/mnt/media/tv/The Expanse/Season 01/The Expanse - S01E01 - Dulcinea.mkv
Avoid storing shared libraries below /home/YOUR-USER unless you understand every parent directory’s traversal permissions.
Step 4: Confirm the storage is mounted
A mount-point directory can exist even when the actual disk, share or pool is missing.
Check the active mount:
findmnt /mnt/media
findmnt -no SOURCE,TARGET,FSTYPE,OPTIONS /mnt/media
lsblk -f
find /mnt/media -maxdepth 3 -type f | head -20
Interpretation:
| Result | Meaning |
|---|---|
findmnt shows the expected source | Storage is mounted at the intended target |
Folder exists but findmnt shows nothing | Jellyfin may be scanning the empty mount-point directory |
| Files are absent | Fix the storage or import path before changing Jellyfin |
| Files are present | Continue to the service-user access test |
For permanent disks, use UUID-based entries in /etc/fstab.
After editing /etc/fstab, validate before rebooting:
sudo mount -a
findmnt /mnt/media
Do not continue until the expected files appear at the host path.
Step 5: Give Jellyfin read access
Confirm the service account:
id jellyfinTest the path as Jellyfin:
sudo -u jellyfin find /mnt/media -maxdepth 3 -type f | head -20If access fails, inspect every directory in the path:
namei -l /mnt/media/movies
getfacl /mnt/media
For a normal ext4 library, grant read and conditional execute access:
sudo apt install -y acl
sudo setfacl -R -m u:jellyfin:rX /mnt/media
sudo setfacl -R -d -m u:jellyfin:rX /mnt/media
sudo systemctl restart jellyfin
Verify with the same test:
getfacl /mnt/media
sudo -u jellyfin find /mnt/media -maxdepth 3 -type f | head -20
The direct service-user test is the proof. A successful setfacl command alone is not enough.
Step 6: Open Jellyfin and add the libraries
From another device on the same network, open:
http://YOUR-SERVER-IP:8096Add the native Ubuntu paths:
Movies:   /mnt/media/movies
TV Shows: /mnt/media/tv
Music:    /mnt/media/music
Run a library scan.
A successful result should include:
Library path accepted
Scan does not finish immediately with no files
Known media appears
No permission or path errors in logs
Check recent logs:
sudo journalctl -u jellyfin --since "10 minutes ago" --no-pagerStep 7: Verify new-file inheritance
Old files may work while new Sonarr, Radarr, download-client or manually copied files remain invisible.
Compare one working and one new folder:
ls -ld "/mnt/media/tv/Working Show"
ls -ld "/mnt/media/tv/New Show"
getfacl "/mnt/media/tv/Working Show"
getfacl "/mnt/media/tv/New Show"
Test the new path directly:
sudo -u jellyfin find "/mnt/media/tv/New Show" -maxdepth 2 -type f | headThe default ACL should be inherited. Also inspect the creating service’s user, group and umask when new imports differ from existing media.
Use Jellyfin Not Scanning New Files if older media is visible but new imports are not.
Step 8: Make Direct Play the default goal
Direct Play keeps server work low because Jellyfin sends the original media to the client.
A broadly compatible 1080p target is:
Container: MP4 or MKV
Video:     H.264
Audio:     AAC or AC3
Subtitles: SRT
For 4K, use HEVC only when the main playback clients support the exact profile, bit depth, HDR format, audio and subtitles.
During playback, record:
Client:
Connection: local or remote
Playback mode:
Video codec:
Audio codec:
Subtitle format:
Reported transcode reason:
If a file transcodes, test subtitles, audio, client and quality settings before upgrading the server.
Step 9: Measure power properly
Use a plug-in wall meter or another whole-system measurement method.
Record the same server in these states:
| State | What to record |
|---|---|
| Powered on and idle | Whole-system watts after background work settles |
| Local Direct Play | Same representative file and client |
| Direct Stream | A known remux or audio-conversion case |
| Software transcode | One incompatible file without acceleration |
| Hardware transcode | The same file after acceleration is enabled |
| Library scan | Temporary peak during active indexing |
Use the same file, client and test duration when comparing playback states.
A useful record looks like:
Date:
Server hardware:
Ubuntu version:
Jellyfin version:
Storage state:
Playback file:
Playback client:
Playback mode:
Wall power:
CPU temperature:
Notes:
Do not publish or rely on a power saving unless the measured difference is repeatable.
Step 10: Check CPU governor and idle behaviour
Before forcing a CPU policy, inspect what the system is currently doing:
cat /sys/devices/system/cpu/cpu0/cpufreq/scaling_governor 2>/dev/null
cat /sys/devices/system/cpu/cpu0/cpufreq/scaling_driver 2>/dev/null
Also watch idle CPU use:
top
ps aux --sort=-%cpu | head -15
A modern Linux CPU can change frequency and power state dynamically. Do not assume that forcing a particular governor will reduce wall power on every platform.
Measure the machine before and after any CPU-policy change. If the wall-meter difference is negligible or performance becomes worse, keep the simpler default.
Step 11: Optional hardware transcoding
Enable hardware acceleration only when a real playback requirement remains.
Inspect available devices:
ls -la /dev/dri
id jellyfin
For Intel VAAPI or Quick Sync diagnostics:
sudo apt install -y vainfo intel-media-va-driver-non-free
vainfo
Confirm the Jellyfin user can access the render device and enable only the codecs the hardware actually supports.
Hardware acceleration can make a necessary transcode efficient. It does not make an incompatible client Direct Play the original file.
Compare the same source file and client with software and hardware transcoding if you want to quantify the power difference.
Step 12: Check temperatures and background load
Install basic monitoring tools:
sudo apt install -y lm-sensors htop
sudo sensors-detect --auto
sensors
Inspect active processes:
top
ps aux --sort=-%cpu | head -15
Unexpected background work can come from:
- a library scan
- chapter-image extraction
- metadata refreshes
- software transcoding
- another media service
- filesystem maintenance
- a failed task retrying repeatedly
Do not treat every short CPU spike as a power problem. Look for sustained, repeatable activity.
Step 13: Reboot and prove recovery
A home server is not reliable until the same working state returns after reboot.
Before rebooting:
sudo mount -a
systemctl is-enabled jellyfin
sudo -u jellyfin find /mnt/media -maxdepth 3 -type f | head -20
Reboot:
sudo rebootAfter reconnecting:
uptime
systemctl status jellyfin --no-pager
findmnt /mnt/media
sudo -u jellyfin find /mnt/media -maxdepth 3 -type f | head -20
sudo journalctl -u jellyfin -b --no-pager -n 100
Then confirm in Jellyfin:
- the web interface loads
- libraries remain populated
- a known file plays
- the expected playback mode appears
- no path or permission errors appear in the current-boot logs
Final verification record
Do not call the build complete until every row is confirmed:
| Check | Required result |
|---|---|
| Jellyfin service | Active and enabled |
| Media mount | Expected source mounted at the expected target |
| Host files | Real media visible |
| Service-user access | jellyfin can list known media files |
| Library path | Exact native Ubuntu path configured |
| Library scan | Completes without access errors |
| New imports | Inherit usable access |
| Playback | Mode and conversion reason known |
| Power | Idle and playback states measured |
| Reboot | Service, mount, library and playback recover |
Useful final command block:
systemctl is-active jellyfin
systemctl is-enabled jellyfin
findmnt /mnt/media
sudo -u jellyfin find /mnt/media -maxdepth 3 -type f | head -20
sudo journalctl -u jellyfin -b --no-pager -n 100
Related guides
- Jellyfin on Ubuntu hub
- Give Jellyfin Access to Media Folders on Ubuntu
- Jellyfin Library Not Showing Files
- Jellyfin Not Scanning New Files
- Jellyfin Direct Play vs Transcoding
- How to Check Why Jellyfin Is Transcoding
- Jellyfin Hardware Transcoding on Ubuntu
- How to Measure Homelab Power Usage Properly
- Jellyfin in a VM vs LXC vs Bare Metal
- Backups That Don’t Lie: 3-2-1 for Home Servers
Recap
A low-power Jellyfin server is not simply a low-wattage computer.
It is a server that:
- starts predictably
- mounts storage correctly
- can read the media without broad permissions
- Direct Plays most everyday files
- uses hardware transcoding only when required
- has measured idle and playback consumption
- avoids unnecessary background work
- returns to the same healthy state after reboot
Build reliability first, then measure and optimise.
Next guide
What to read next
Continue the setup path with these closely related guides.
Give Jellyfin Access to Media Folders on Ubuntu
Fix Jellyfin permission denied errors on Ubuntu. Test the service user, find blocked parent folders, apply safe ACLs, verify inheritance, and check mounted-drive options.
Jellyfin Direct Play vs Transcoding: What Is the Difference?
Why is Jellyfin transcoding instead of Direct Playing? Compare Direct Play, Direct Stream and transcoding, CPU usage, quality and common triggers.
Jellyfin Remote Access with Tailscale on Ubuntu
Access Jellyfin remotely with Tailscale on Ubuntu without port forwarding, DDNS, or a public reverse proxy. Includes setup, MagicDNS, testing, and fixes.
Jellyfin guide cluster
More Jellyfin fixes and setup guides
These guides link the main Jellyfin setup, permissions, remote access, direct play, and hardware topics together.
Jellyfin 12 Upgrade Guide: 10 Things to Check Before You Update
Prepare Jellyfin 10.10 or 10.11 for version 12: verify backups, plugins, Docker or Ubuntu packages, migrations, permissions, playback and rollback.
Give Jellyfin Access to Media Folders on Ubuntu
Fix Jellyfin permission denied errors on Ubuntu. Test the service user, find blocked parent folders, apply safe ACLs, verify inheritance, and check mounted-drive options.
Jellyfin Library Not Showing Files? 8 Checks That Fix It
Fix a Jellyfin library that is empty or missing media. Check mounts, Linux permissions, Docker paths, library folders, naming, scans and logs in the correct order.
Jellyfin Docker Permissions: Fix Media Folder Access and UID/GID Errors
Fix Jellyfin Docker permission denied errors. Check bind mounts, container paths, UID and GID values, read-only media access, active mounts, and file visibility step by step.
Jellyfin Direct Play vs Transcoding: What Is the Difference?
Why is Jellyfin transcoding instead of Direct Playing? Compare Direct Play, Direct Stream and transcoding, CPU usage, quality and common triggers.
Jellyfin Supported Formats: Can It Play MKV, MP4 and HEVC?
Can Jellyfin play MKV, MP4 and HEVC? See supported containers, codecs and subtitles, plus why files Direct Play, Direct Stream or transcode.