


Quick answer
What this guide helps you do
Access Jellyfin remotely with Tailscale on Ubuntu without port forwarding, DDNS, or a public reverse proxy. Includes setup, MagicDNS, testing, and fixes.
Jellyfin beginner path
New to Jellyfin? Follow this order.
These guides form the SmallGrid Jellyfin path: install it, fix folder access, solve empty libraries, reduce unnecessary transcoding, then choose the right mini PC.
Quick answer
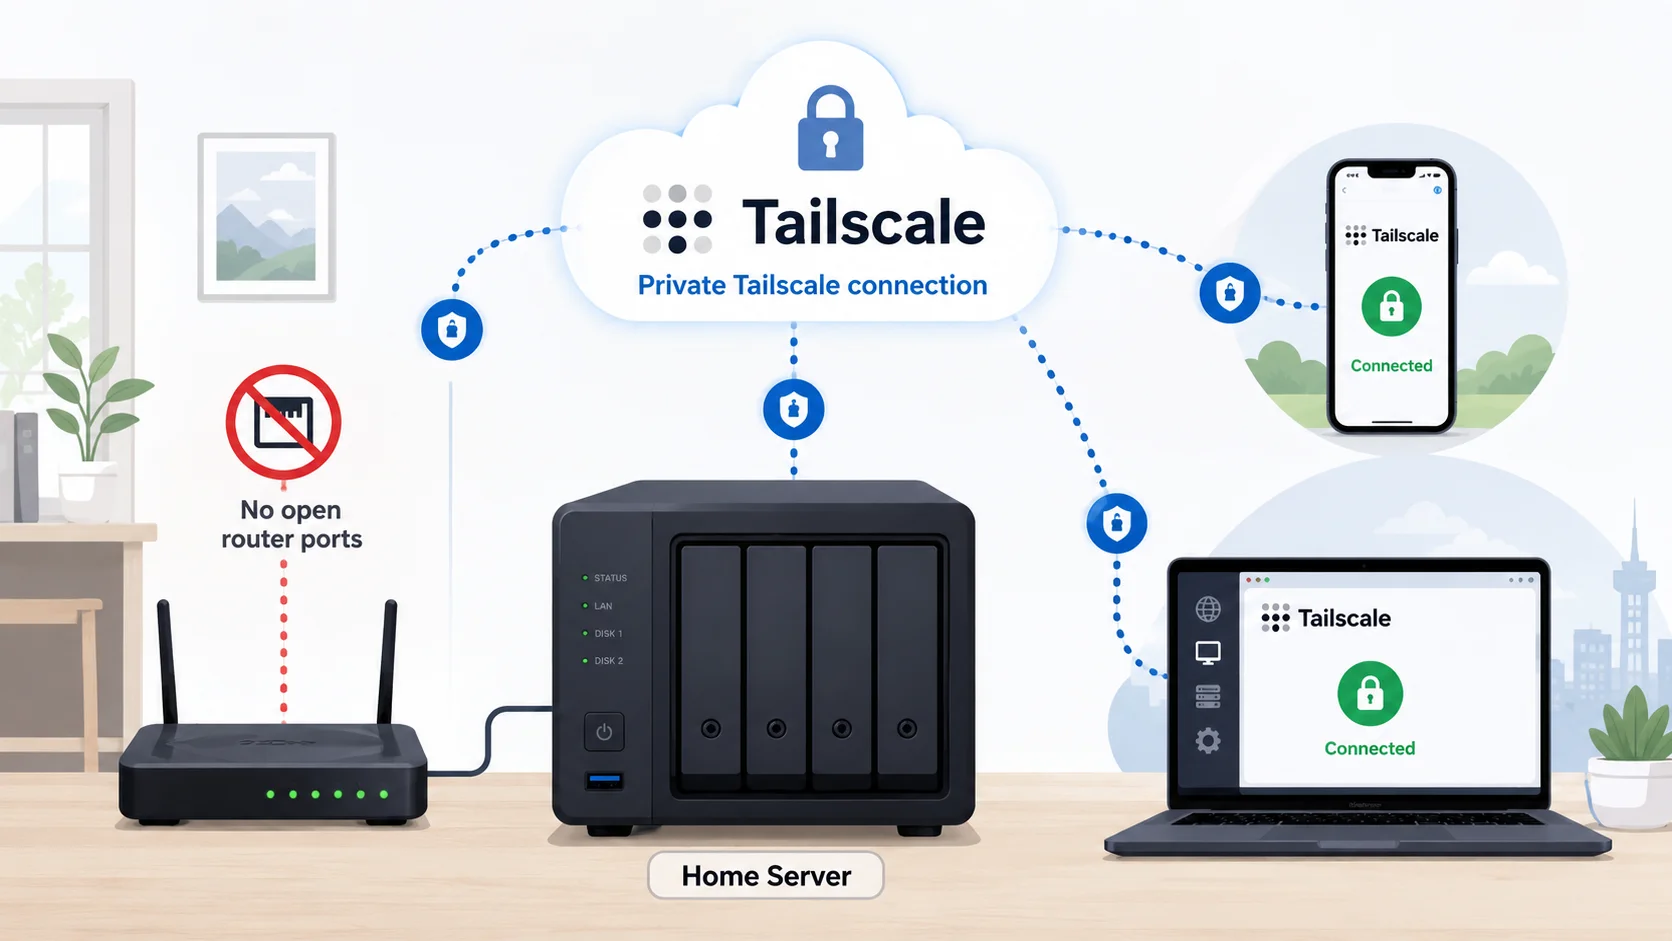
Install Tailscale on the Ubuntu Jellyfin server and on each trusted client device. Then connect to Jellyfin using the server’s private Tailscale IP:
http://100.x.x.x:8096This gives you private remote access without opening Jellyfin to the public internet, changing router rules, setting up dynamic DNS, or running a public reverse proxy.
What you need
- Jellyfin already working on your home network
- Ubuntu terminal or SSH access
- a Tailscale account
- Tailscale installed on each remote client
Confirm Jellyfin works locally first:
http://YOUR-LAN-IP:8096If local access fails, fix Jellyfin before troubleshooting Tailscale.
Step 1: Install Tailscale on Ubuntu
Run on the Jellyfin server:
curl -fsSL https://tailscale.com/install.sh | shStart the login process:
sudo tailscale upOpen the login URL printed in the terminal and approve the server.
Check the connection:
tailscale statusStep 2: Find the server’s Tailscale IP
Run:
tailscale ip -4Example:
100.89.21.37Your address will be different.
Step 3: Install Tailscale on the client
Install Tailscale on the phone, tablet, laptop, or other device you will use away from home.
Sign in to the same tailnet and confirm it is connected.
The client and Jellyfin server should both appear in:
tailscale statusStep 4: Open Jellyfin remotely
On the connected client, open:
http://TAILSCALE-IP:8096Example:
http://100.89.21.37:8096Test properly by switching a phone from home Wi-Fi to mobile data.
Step 5: Use MagicDNS
MagicDNS gives the server a memorable private hostname.
After enabling MagicDNS in the Tailscale admin console, the server may be reachable at an address similar to:
http://jellyfin-server:8096or:
http://jellyfin-server.tailnet-name.ts.net:8096The client still needs to be connected to Tailscale.
Do you need port forwarding?
No. A normal Tailscale setup does not require a public Jellyfin port-forwarding rule.
The connection path is:
Remote client → Tailscale → Ubuntu server → Jellyfin port 8096Review and remove old public router rules when they are no longer needed.
Jellyfin works locally but not through Tailscale
Check both services:
systemctl status jellyfin --no-pager
systemctl status tailscaled --no-pager
tailscale status
From another Tailscale device, test the server:
tailscale ping JELLYFIN-SERVER-NAMEYou can also try the Tailscale IP directly.
If Tailscale ping fails, troubleshoot Tailscale connectivity. If ping works but port 8096 does not load, inspect Jellyfin or the server firewall.
Check the Ubuntu firewall
Check whether UFW is active:
sudo ufw statusA simple rule restricted to the Tailscale interface is:
sudo ufw allow in on tailscale0 to any port 8096 proto tcpOnly add firewall rules when UFW is active and blocking the connection.
Phone works on Wi-Fi but not mobile data
Check that:
- Tailscale is connected on the phone
- battery optimisation is not suspending Tailscale
- mobile VPN permissions are enabled
- the Jellyfin URL uses the Tailscale address rather than the LAN address
A private LAN address such as 192.168.1.50 will not normally work away from home.
Remote playback buffers
Tailscale provides the route; it does not increase your home upload speed.
Check:
- home upload bandwidth
- media bitrate
- Jellyfin client quality setting
- whether video is transcoding
- mobile signal quality
Use How to Check Why Jellyfin Is Transcoding to identify the playback mode.
For remote viewing, a separate 1080p version may be more practical than transcoding high-bitrate 4K media.
HTTP and HTTPS
Traffic between Tailscale devices travels through the encrypted Tailscale connection. For a private first setup, this is commonly accessed as:
http://TAILSCALE-IP:8096You can add private HTTPS later, but it is not required to prove the remote-access path works.
Do not expose the plain HTTP Jellyfin port directly to the public internet.
Exact verification sequence
On the server:
systemctl status jellyfin --no-pager
systemctl status tailscaled --no-pager
tailscale status
tailscale ip -4
sudo ss -lntp | grep 8096
On the client:
tailscale status
tailscale ping JELLYFIN-SERVER-NAME
Then open:
http://TAILSCALE-IP:8096Related guides
- Install Jellyfin on Ubuntu
- Jellyfin Remote Access Safely
- How to Check Why Jellyfin Is Transcoding
- Jellyfin Direct Play vs Transcoding
- 3-2-1 Backups for Home Servers
Recap
Install Tailscale on the Ubuntu server and trusted clients, connect them to the same tailnet, and open Jellyfin using the private Tailscale IP or MagicDNS hostname.
This is the SmallGrid default for simple private Jellyfin remote access.
Next guide
What to read next
Continue the setup path with these closely related guides.
Jellyfin Remote Access Safely: Tailscale, Reverse Proxy, or VPN?
Compare safe Jellyfin remote access options, including Tailscale, VPNs, reverse proxies, HTTPS, and why port forwarding should not be the default.
How to Reduce Jellyfin Server Power Use on Ubuntu
Reduce Jellyfin server electricity use on Ubuntu by measuring idle and playback power, avoiding unnecessary transcoding, checking background load, storage, CPU behaviour and reboot health.
Backups That Don’t Lie: 3-2-1 for Home Servers
A simple home server backup strategy built around 3-2-1, automatic copies, offsite protection, and tested restores.
Jellyfin guide cluster
More Jellyfin fixes and setup guides
These guides link the main Jellyfin setup, permissions, remote access, direct play, and hardware topics together.
Jellyfin 12 Upgrade Guide: 10 Things to Check Before You Update
Prepare Jellyfin 10.10 or 10.11 for version 12: verify backups, plugins, Docker or Ubuntu packages, migrations, permissions, playback and rollback.
How to Reduce Jellyfin Server Power Use on Ubuntu
Reduce Jellyfin server electricity use on Ubuntu by measuring idle and playback power, avoiding unnecessary transcoding, checking background load, storage, CPU behaviour and reboot health.
Give Jellyfin Access to Media Folders on Ubuntu
Fix Jellyfin permission denied errors on Ubuntu. Test the service user, find blocked parent folders, apply safe ACLs, verify inheritance, and check mounted-drive options.
Jellyfin Library Not Showing Files? 8 Checks That Fix It
Fix a Jellyfin library that is empty or missing media. Check mounts, Linux permissions, Docker paths, library folders, naming, scans and logs in the correct order.
Jellyfin Docker Permissions: Fix Media Folder Access and UID/GID Errors
Fix Jellyfin Docker permission denied errors. Check bind mounts, container paths, UID and GID values, read-only media access, active mounts, and file visibility step by step.
Jellyfin Direct Play vs Transcoding: What Is the Difference?
Why is Jellyfin transcoding instead of Direct Playing? Compare Direct Play, Direct Stream and transcoding, CPU usage, quality and common triggers.