


Quick answer
What this guide helps you do
Combine existing Linux disks into one mergerfs media path on Ubuntu Server, configure fstab safely, choose a create policy and verify Jellyfin and Docker access.
Jellyfin beginner path
New to Jellyfin? Follow this order.
These guides form the SmallGrid Jellyfin path: install it, fix folder access, solve empty libraries, reduce unnecessary transcoding, then choose the right mini PC.
Useful Amazon UK links
These are optional links for hardware or accessories relevant to this guide. Compare prices and specifications before buying.
Bulk storage for the media pool. mergerfs combines disks you already have, so add drives as you need them.
A quiet option for smaller, faster storage.
Check cooling, power delivery and suitability for continuous use.
Quick answer
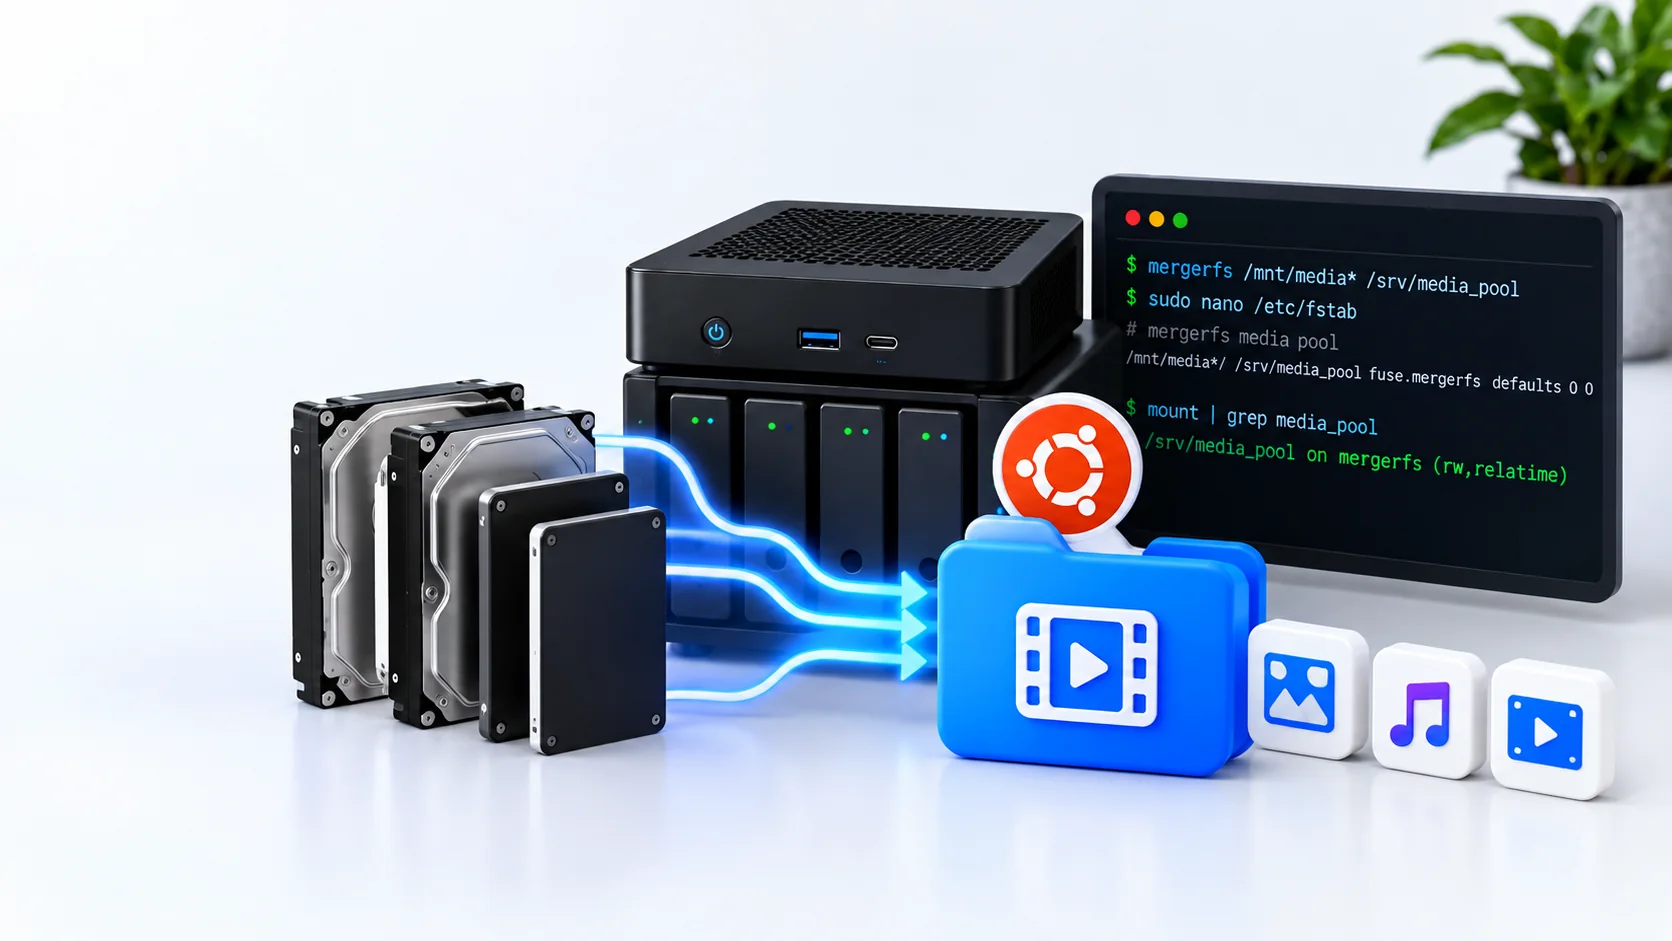
mergerfs combines several existing filesystem paths into one logical directory without striping or reformatting the files.
Example:
/srv/media/media1 ─┐
/srv/media/media2 ─┼─→ /srv/media_pool
/srv/media/media3 ─┘
The files remain on the individual branch disks. Jellyfin, Docker or another application can use /srv/media_pool as one stable path.
mergerfs is not RAID and provides no redundancy. If a disk fails, files stored on that disk are lost unless another backup or parity system protects them.
This guide starts with already formatted Linux filesystems containing data. It does not partition or format disks.
When mergerfs is useful
mergerfs fits a home media server when you want:
- one path across differently sized disks
- the ability to add or remove branches later
- ordinary filesystems such as ext4 underneath
- files to remain readable directly from each disk
- a simple media path for Jellyfin or Docker
- configurable rules for where new files are created
It is different from RAID:
| Question | mergerfs | RAID-style array |
|---|---|---|
| Combines capacity behind one path | Yes | Yes |
| Stripes one file across disks | No | Often, depending on level |
| Provides redundancy by itself | No | Some RAID levels do |
| Individual branch remains a normal filesystem | Yes | Usually not in the same way |
| Supports differently sized branches easily | Yes | Depends on design |
| Can add a populated filesystem path | Yes, after careful planning | Usually requires array-specific migration |
Use a separate backup for irreplaceable data. SnapRAID can add parity to some media-pool designs, but it is a separate product and is outside this guide.
Plan the paths first
Use clear branch and pool paths:
Branch 1: /srv/media/media1
Branch 2: /srv/media/media2
Branch 3: /srv/media/media3
Pool:     /srv/media_pool
Keep the pool outside its branches. Never create a layout such as:
/srv/media
/srv/media/media1
where the pool contains one of its own branches.
Record for every disk:
- model and serial number
- filesystem UUID
- filesystem type
- branch mount path
- capacity and free space
- SMART health
- backup or parity status
Use Check Drive Health with SMART on Ubuntu before adding an unknown disk.
Step 1: verify every branch is a real mount
lsblk -o NAME,MODEL,SERIAL,SIZE,FSTYPE,UUID,MOUNTPOINTS
findmnt
df -hT
Check each planned branch directly:
findmnt /srv/media/media1
findmnt /srv/media/media2
findmnt /srv/media/media3
Stop if a branch is only an ordinary directory on the root filesystem. Adding that path would place data on the system disk instead of the intended media disk.
Each disk should mount independently by UUID before mergerfs starts. Use Mount a Drive Automatically with /etc/fstab for that foundation.
Step 2: back up and inspect /etc/fstab
sudo cp -a /etc/fstab /etc/fstab.before-mergerfs
sudo findmnt --verify --verbose
Open the file:
sudo nano /etc/fstabThe branch mounts should appear before the mergerfs entry and use verified UUIDs rather than /dev/sdX names.
Conceptual branch entries look like:
UUID=<media1-uuid> /srv/media/media1 ext4 defaults 0 2
UUID=<media2-uuid> /srv/media/media2 ext4 defaults 0 2
UUID=<media3-uuid> /srv/media/media3 ext4 defaults 0 2
Replace every placeholder with the value from lsblk -f or blkid. Do not copy these lines unchanged.
Step 3: install mergerfs
sudo apt update
sudo apt install mergerfs
mergerfs -V
Record the installed version. mergerfs options have changed over time, so use documentation matching the installed version rather than copying old tuning lists from forums.
Step 4: create the pool mount point
sudo mkdir -p /srv/media_pool
findmnt /srv/media_pool
Before mounting mergerfs, the second command should not report another filesystem already mounted there.
Keep the mount point empty. Files hidden underneath an active mount become confusing to diagnose and are not part of the pool view.
Step 5: understand the create policy
When an application creates a new file, mergerfs uses a create policy to select the branch.
The current mergerfs quick-start configuration uses:
category.create=pfrdpfrd is a path-preserving random drive policy. It helps keep related directory structures while distributing new creates among eligible branches.
No policy is universally best. The correct choice depends on whether you want to preserve existing paths, prefer drives with space, distribute simultaneous creates or keep related files together.
Start with the current documented quick-start options unless a measured requirement justifies something else.
Step 6: test a temporary mount
For a current mergerfs release on a modern Linux kernel, the official quick-start baseline is:
sudo mergerfs -o cache.files=off,category.create=pfrd,func.getattr=newest,dropcacheonclose=false \
  /srv/media/media1:/srv/media/media2:/srv/media/media3 \
  /srv/media_pool
Verify:
findmnt /srv/media_pool
df -hT /srv/media_pool
ls -la /srv/media_pool
The pool should show the combined directory view. Existing files are not moved by mounting the pool.
Create a disposable test directory and file:
sudo mkdir -p /srv/media_pool/smallgrid-pool-test
sudo touch /srv/media_pool/smallgrid-pool-test/write-test
Find the selected underlying branch:
sudo getfattr -n user.mergerfs.allpaths \
  /srv/media_pool/smallgrid-pool-test/write-test
If getfattr is unavailable:
sudo apt install attrRemove only the disposable test after confirming its exact path:
sudo rm /srv/media_pool/smallgrid-pool-test/write-test
sudo rmdir /srv/media_pool/smallgrid-pool-test
Then unmount the temporary pool before editing fstab:
sudo umount /srv/media_poolStep 7: add the mergerfs fstab entry
Add this after the verified branch mounts:
/srv/media/media1:/srv/media/media2:/srv/media/media3 /srv/media_pool mergerfs cache.files=off,category.create=pfrd,func.getattr=newest,dropcacheonclose=false 0 0This follows the current mergerfs quick-start baseline. Check the documentation for your installed version and Linux kernel before using different cache settings.
Do not add old options simply because they appear in a copied configuration. Each option changes behaviour; mergerfs does not have a universal “fastest” configuration.
Step 8: validate without rebooting
sudo findmnt --verify --verbose
sudo mount -a
findmnt /srv/media/media1
findmnt /srv/media/media2
findmnt /srv/media/media3
findmnt /srv/media_pool
df -hT /srv/media_pool
Resolve every error before rebooting.
Check the runtime create policy:
sudo getfattr -n user.mergerfs.category.create /srv/media_pool/.mergerfsIt should show the intended policy.
Step 9: verify a controlled reboot
Do not make this the first reboot after several unrelated storage changes.
sudo rebootAfter reconnecting:
systemctl --failed
findmnt /srv/media/media1
findmnt /srv/media/media2
findmnt /srv/media/media3
findmnt /srv/media_pool
df -hT /srv/media_pool
journalctl -b -p warning --no-pager
Confirm all branches mounted before applications write to the pool.
Be cautious with nofail. Allowing boot to continue with a missing data disk can be useful for some systems, but it can also let applications start against an incomplete pool. Decide intentionally and add application ordering only after testing the failure behaviour.
Step 10: give Jellyfin access
For native Jellyfin, test as the actual service user:
sudo -u jellyfin find /srv/media_pool -maxdepth 3 -type f | head -20
namei -l /srv/media_pool
If access fails, inspect the pool and every underlying branch. Do not use chmod 777.
Use Give Jellyfin Access to Media Folders on Ubuntu for targeted ACLs and traversal checks.
Point the Jellyfin library at:
/srv/media_poolDo not add the individual branches as duplicate libraries when the pool already exposes them.
Step 11: use the pool with Docker
Bind-mount the pool path, not the branch paths, when the application should see one combined library:
services:
  jellyfin:
    volumes:
      - /srv/media_pool:/media:ro
Then verify from inside the container:
docker compose config
docker compose up -d jellyfin
docker compose exec jellyfin find /media -maxdepth 3 -type f | head -20
Keep media read-only where the application does not need to modify it.
Use Jellyfin Docker Volume Paths Explained and Docker Container Cannot Access a Mounted Folder for path and permission problems.
Adding another disk later
- Check the new disk’s health.
- Back up any irreplaceable data.
- Mount its filesystem at a stable branch path by UUID.
- Verify the branch independently.
- Add the branch path to the mergerfs source list.
- Validate fstab and remount during a maintenance window.
- Test file creation and application access.
Adding a branch does not rebalance existing data automatically. Existing files remain on their current disks unless you deliberately move them.
What happens when a disk fails?
The pool loses access to files stored on the failed branch. Files on healthy branches remain ordinary filesystems, but the combined directory view may be incomplete.
When a branch disappears:
- stop applications that write to the pool
- confirm which physical disk and mount failed
- do not let Jellyfin or automation tools interpret missing media as intentional deletion
- recover or replace the disk
- restore lost files from backup
- verify the pool before restarting applications
mergerfs does not reconstruct missing data.
Verification checklist
- Every branch uses a stable mount path and verified UUID.
- Every branch is mounted before mergerfs.
-
/srv/media_poolis a real mergerfs mount. - Current create policy matches the intended value.
- A disposable write lands on an expected branch.
- Free space and inodes are monitored on individual disks.
- Jellyfin or Docker can read the pool as its real user.
- Pool survives a controlled reboot.
- Missing-branch behaviour is documented.
- Irreplaceable files have an independent backup.
Official mergerfs references
Related SmallGrid guides
- Mount a Drive Automatically with
/etc/fstab - Fix a Drive That Disappears After Reboot
- Check Drive Health with SMART
- Jellyfin Folder Permissions on Ubuntu
- Jellyfin Media Disappears After Reboot
- Backups That Don’t Lie
Recap
Mount and verify each disk independently, then combine their filesystem paths through mergerfs. Use the current documented create-policy baseline, validate /etc/fstab before rebooting, and test access as the real Jellyfin or Docker user.
The pool simplifies paths; it does not create redundancy. Keep independent backups and stop applications if a branch disappears.
Jellyfin guide cluster
More Jellyfin fixes and setup guides
These guides link the main Jellyfin setup, permissions, remote access, direct play, and hardware topics together.
Jellyfin 12 Upgrade Guide: 10 Things to Check Before You Update
Prepare Jellyfin 10.10 or 10.11 for version 12: verify backups, plugins, Docker or Ubuntu packages, migrations, permissions, playback and rollback.
How to Reduce Jellyfin Server Power Use on Ubuntu
Reduce Jellyfin server electricity use on Ubuntu by measuring idle and playback power, avoiding unnecessary transcoding, checking background load, storage, CPU behaviour and reboot health.
Give Jellyfin Access to Media Folders on Ubuntu
Fix Jellyfin permission denied errors on Ubuntu. Test the service user, find blocked parent folders, apply safe ACLs, verify inheritance, and check mounted-drive options.
Jellyfin Library Not Showing Files? 8 Checks That Fix It
Fix a Jellyfin library that is empty or missing media. Check mounts, Linux permissions, Docker paths, library folders, naming, scans and logs in the correct order.
Jellyfin Docker Permissions: Fix Media Folder Access and UID/GID Errors
Fix Jellyfin Docker permission denied errors. Check bind mounts, container paths, UID and GID values, read-only media access, active mounts, and file visibility step by step.
Jellyfin Direct Play vs Transcoding: What Is the Difference?
Why is Jellyfin transcoding instead of Direct Playing? Compare Direct Play, Direct Stream and transcoding, CPU usage, quality and common triggers.